
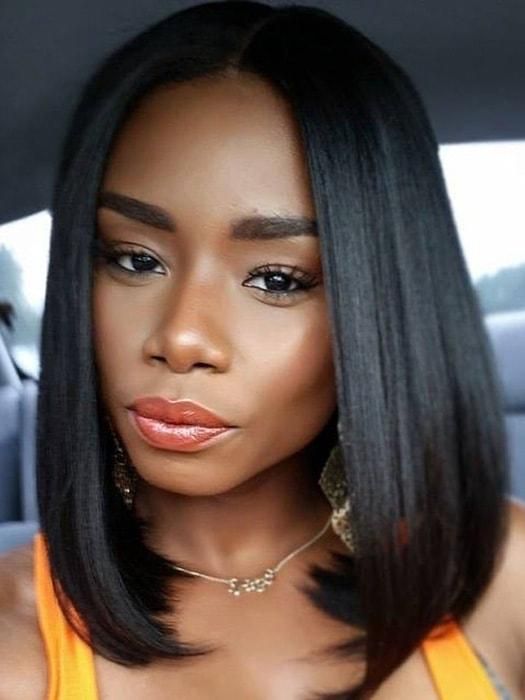
How to Make A U Part Wig
Are you experiencing any hair thinning or hair loss? Would you like a weave but don’t want to spend the time and money on the process? Wigs provide great versatility both with making your own and installation. With the wide range of wigs and their styles on the market, making your own wig can be the most cost-effective way. Similar to the process of doing a quick weave making your own wig can take possibly a much shorter time to make. The easiest wig and most convenient wig would be the u-part wig. We are going to answer all of your questions about the process, tools and steps needed to get the job done.
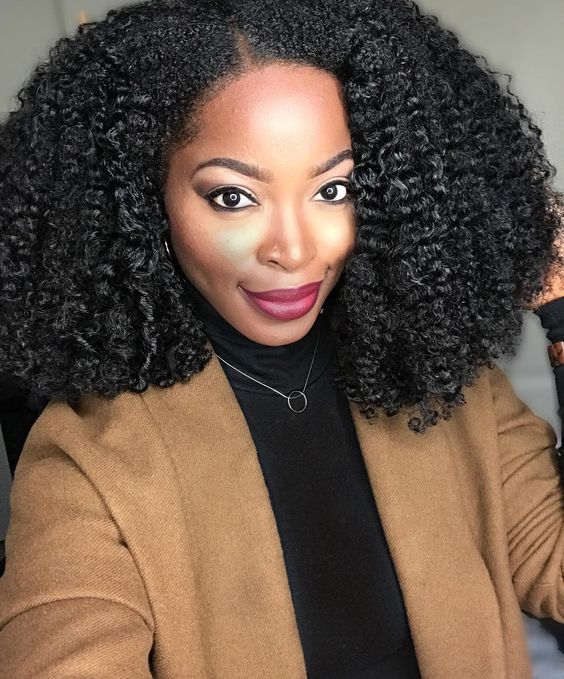
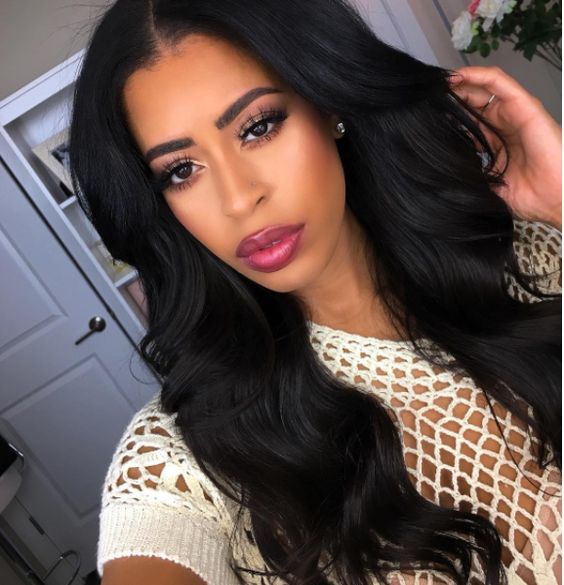
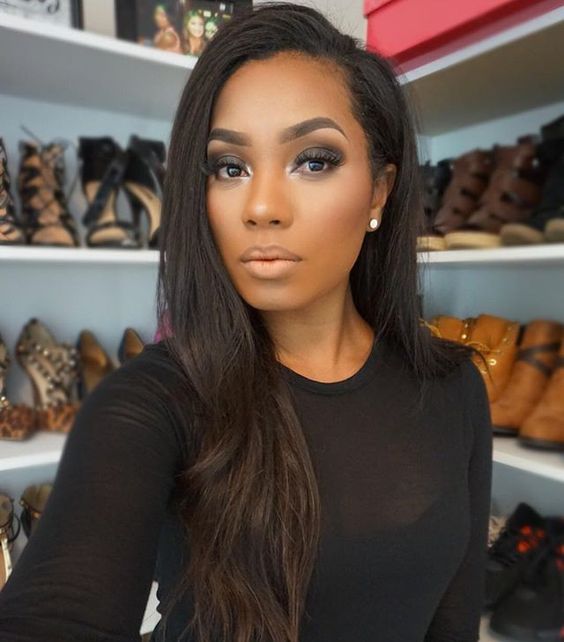
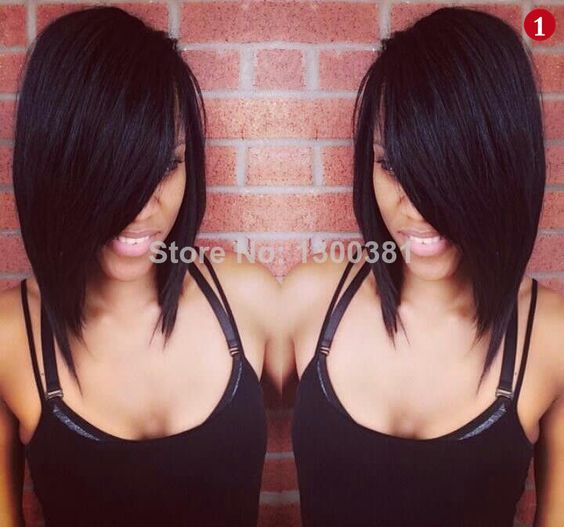
1Benefits of a U Part Wig

U-Part wigs serve the same protective and easy styling options as any other wig do. The only difference is you have more versatility with it’s function, and with the u shape in the front of the wig, you can blend in your own hair for a more natural hairline. Therefore, it will give you the look and feel of a nice sew-in weave without the stress on your hair, the long hours in the chair and can even eliminate the process of having to cut weave or thread out of your head when you are done with it, that is depending on your preferred method used to secure your wig. These types of wigs are great for people who are experiencing hair loss or have hair that’s thinning, also they can provide a great cost-effective solution for desired fullness and length.
2U Part Wig – The Cons
The cons to making your own wig is slim to none. If you run a busy schedule your wig may take longer to make. Also, if this is your first time you should not only take your time but do a very thorough search on the steps you will need to take. You need to be sure to have the right tools on hand and follow the proper steps to get the best results.
3Tools Needed To Make A U Part Wig
Depending on the method you would like to use for securing your weave down and for keeping the unit in place on your head, the tools you will need will vary. Below is a list of basic tools you will need to get the job done: Mannequin Head + Stand; Blow Dryer (optional); Duct Tape; Sewing Thread and Needle (optional); Saran Wrap; Hot Glue Gun (optional); Measuring Tape; Clip-Ins pieces with Comb attached (optional); Rust Proof Pins; Human Hair (specifically hair used for weaving); Scissors;Bonding glue (optional); White crayon; Wig Cap.
Most items you will have on hand others you may purchase online, at your local beauty supply store, a crafting store or Sally’s beauty store.
4Sewing? Gluing? Using the Clips and Combs?

Once you have an idea of the style you want you can begin making your u-part wig. You may choose to sew your hair down or glue it down. You may also add clips with combs attached for an easy on easy off process. The difference between the two is how secure you want the hair to be and the clips are basically designed to help keep the unit in place on your head, so it won’t fall off.
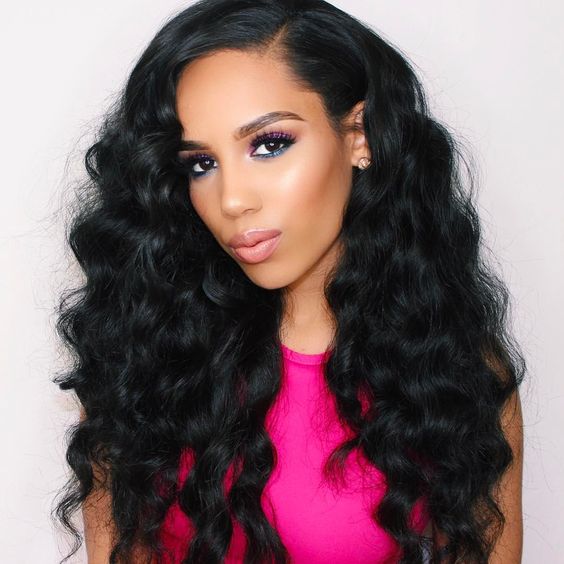
5Methods for U Part Wig

For wig making its best to use the flip over method, whether or not you’re using glue or chose to sew your hair down. The flip over method is designed for continuous use, it will help prevent shedding from cutting the weft of the hair. It will also make the process much faster. With sewing, the hair in you wants to make sure you sew the folded part with extra stitches to be sure it lays flat to the wig cap as possible, and be sure to stitch ever half an inch apart for a tight hold on hold on the weaving cap. You may also choose to glue the hair down, using the flip over method, this process can be even faster than sewing the unit down. You can have the option of using the bonding glue or a hot glue gun. With the hot glue gun, you will get a much better and lasting hold, you will also not have to worry about the weft coming up from the glue if you get the unit wet.
6Making Your U Part Wig Unit Part #1

Taking your mannequin head and stand, be sure both is secure and doesn’t move. Take your measuring tape and measure the circumference of your head, be sure to write it down so you won’t forget. Now measure the mannequin head, you don’t have to write the number for that down. This step is designed for you to get the best fit possible for your unit, you don’t want to complete your unit to find that it’s to big or to small to fit. If your head measures bigger then the mannequin head, you will wrap your saran wrap and duct tape around the mannequin head until both your head and the mannequin head measurements are the same. It is rare that your head will be smaller than the mannequin head, but if that’s the case you want to find one on the market that’s around your head size, unless you’re in the mood for a diy project.
7Making Your U Part Wig Unit Part #2
Once done you can place your wig cap on your head, be sure your standing in front of a mirror for this step. Position the wig cap over your ears and slightly on your forehead and the nape of your neck. Once in place take your white crayon and mark where you would like the u part of the wig to be and be sure to start and the very top of the cap.
8Making Your U Part Wig Unit Part #3
Then mark the areas around your ears and your nape of the neck, you may also mark your hair line to know where your stopping point will be when sewing or gluing the hair down. Once done, you can remove the wig cap and place it on your mannequin head. To keep the unit in place you will want to place your pins around the perimeter, not to close though.
9Making Your U Part Wig Unit – Part #4
You may now begin to take your human hair and begin to either sew it in or glue it in, for this we will use the hot glue gun method to secure the hair on the wig cap. If you have experience with gluing weave to your head, it’s the same process just you will eliminate the need for a blow dryer since the glue is already hot and needs to cool to completely set. Do not use the hot glue gun method on your head directly, it will result in burns and can damage your natural hair. With the hot glue gun, you would like to put a paper towel under the wig cap to prevent it from sticking to your mannequin head or you may use a plastic grocery bag.
10Making Your U Part Wig Unit – Part #5
Begin placing the glue on one side of the hair weft, being especially careful not to get any on the hair itself. Starting at the area where your nape of your neck will be, glue the hair from one line to the next, once done give the glue a few seconds to adhere and cool off. If your using the bonding glue, you will want to blow dry the weft after placing it on the cap for 5-10 seconds to help speed up the drying process, if your sewing it be sure to stitch quarter an inch apart from each other to give the best hold.
11Making Your U Part Wig Unit – Part #6

Once done, place your index finger and middle finger on the weft that’s on the cap. This will be your space marker for where to lay your next piece, if you want fuller hair you will just place your index finger only in between. You can always go back and add more pieces of hair if you need to. Without tugging the hair to rough, gently flip the hair and position it in the next spot, get a good measure of how much of the weft will need to cover in glue before applying. Add the glue to the weft a repeat the process of laying it down, being sure that part you flipped is laying as flat as possible. Reframe from over gluing, you don’t want the glue to get on the hair or it will be a pain to get out.
12Making Your U Part Wig Unit – Part #7
Continue this process up to the crown of the head, being sure to stay within the white lines, you may lay the weft on the line but do not go over the line. Once you get to the top of your head, you can work on one side, followed by the next. Being sure to lay the weft directly on the white line where the part will lay. Continue the same process on the other side. Before removing the wig cap, allow everything to dry (if you chose to use glue). Once done, you can remove the pins and the wig cap and try your unit on, just to be sure everything is laying where is supposed to be, be sure to pull the cap over your ears as you did before, so you will get the best feel for it. Once you feel everything is in place you can either remove the cap and place it back on the mannequin head for styling or leave it on your head for cutting.
13Making Your U Part Wig Unit – Part #8

Once you have cut all of the excess cap off, you will want to flip your unit inside out and pin it back to the mannequin. This step if for those who would like to add the clips in for a sew less unit. Sew the clips around the perimeter of you’re the cap. There should be two in the back where you nape should be, once on each side of your temples and two on both sides of the u-part, you may also add an extra clip on the bottom of the u so that area will lay as flat as a possible as well.
14Making Your U Part Wig Unit – Part #9
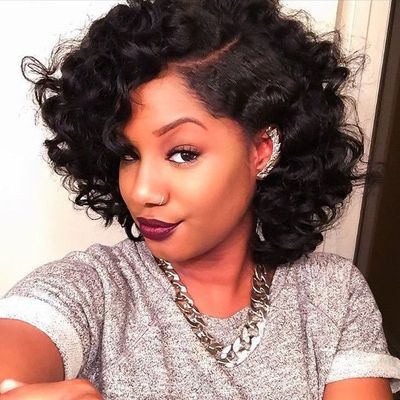
You are now done making your wig. To get a finally try one to see the finish results, part your natural hair where the u-part will lay, place this section is a clip out of the way. The rest of your you may braid straight back toward the nape of your neck. You will want your hair to lay as flat as possible. Position the cap on your and snap the clips in place. When everything is in place you may take your natural hair that was left untouched out and style it to blend with the wig. For a more secure hold or for longer where, instead of sewing your clips to the unit, you will sew the perimeter of the unit to the perimeter of your hair, once done you may complete the styling process
15How to Install A U Part Wig Tutorial


