

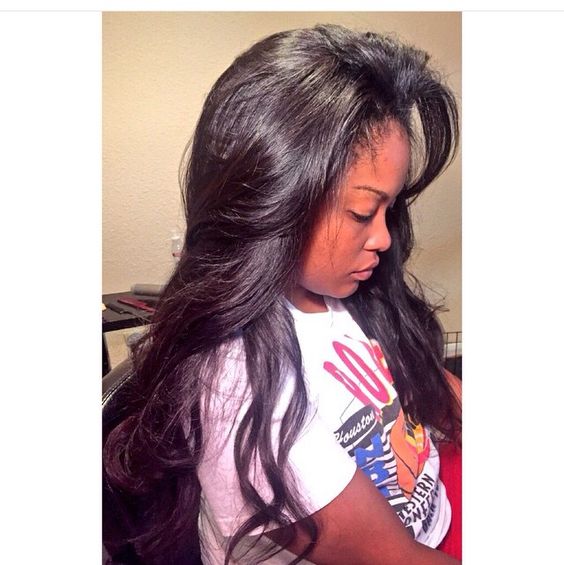
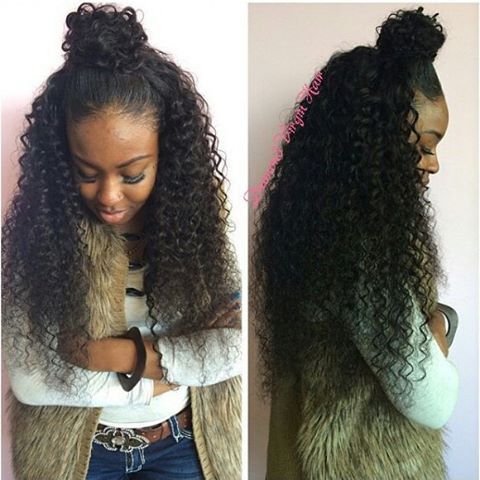
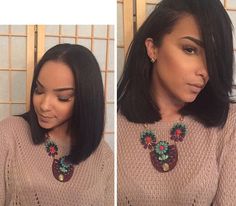
Flip Over Method
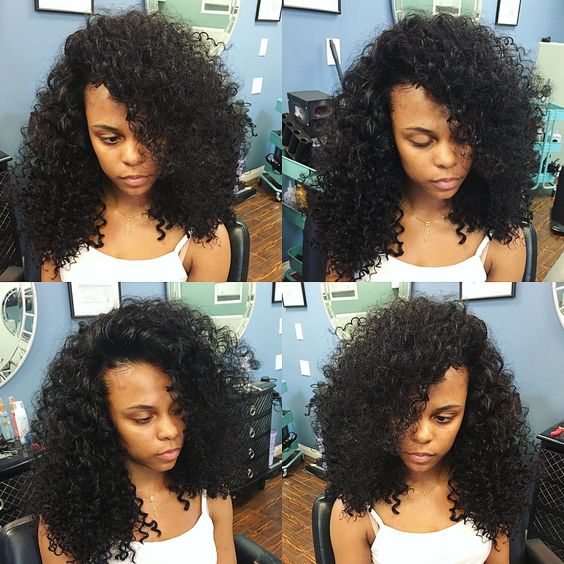
There are different techniques to doing your weaves or your wigs, but for a more seamless approach, you may opt-in trying the flip over method, also known as the versatile sew in. This method basically gives the wearer the ability to flip their hair which every way they would like, and with little leave out. You will also not have to part your hair if you don’t want one. This method would also be particularly good for people who choose to wear curly weave, giving their overall look a more natural approach. This method is particularly simple in steps but knowing the proper steps will eliminate any space for errors.
1Flip Over Method – The Process

The process for doing the flip over method isn’t as hard as it may seems. All you are doing is basically sewing or gluing your weave in and creating an invisible part with out the part. For example, let’s say you brought 3-4 bundles of Indian deep curly hair, we will walk you threw the entire process of installation plus achieving the flip over method.
2How To Flip Over Sew In

As always you would like to start with freshly washed blown out hair. You will need to braid your hair in a specific pattern for the base this will allow you to get the most out of this technique and the weave. Begin with two rows of braids starting in the front of your head going down the sides and to the back of your head near the nape of your neck the braid with your edges should be braided loosely as you will not only remove this braid once you’re done, but you also don’t want a lot of stress on your edges. Once you have achieved those, you may braid the remaining parts of your hair straight back if you would like or braid it in a circle pattern, whichever is best and more comfortable for you. If you braid your hair straight back be sure to sew all your ends down flat as possible, so your weave itself lays down flat as well.
3How To Flip Over Part #2

Once all of your hair is braided, you can either opt for sewing a weaving net to hair or get ready to install your weave. The weaving net is designed to help eliminate tension off of your hair and allow your weave to last much longer. Just be sure if you decide to glue your weave to your natural hair, you must take extra steps to protect your natural hair from the glue if not it will result in hair damage, you will also not be able to oil your scalp during the duration of wearing your weave or the oil may cause the glue to come untack. Gluing the weave to your hair will also decrease the length of wear you will normally get, compared to sewing the hair down.
4How To Flip Over Part #3
If you choose to use the weaving neat you may purchase one from your local beauty supply store. After laying the net on head, you will want to sew the edges of the net to the edges of your hair, so the second braid going around your head that’s closest to the middle is where you would want to lay and sew your net. The first braid will be left for leave out, to help blend your overall look together. Being sure the net is securely attached to your head but not tight as you don’t want to damage your hair. After sewing your net down, you can cut all the extra net off, be very careful during this step as you do not want to cut off your hair by mistake.
5How To Flip Over Part #4
Once your net is on and intact you may oil your scalp with a moisturizing oil, like jojoba oil or Moroccan oil, being sure to not put to much oil on as your hands will be to slippery to grip the sewing needle properly. Over oily may also clogged your pores and cause faster buildup resulting in having to take your weave out sooner to care for natural hair properly.
6How To Flip Over Part #5
It’s not recommended to wash your hair while your weave is in. If you do get your hair wet you must remove the weave completely to re-wash your hair properly and perform the entire process over again. Afterward, take your first bundle of hair and begin sewing, being sure to secure the initial piece of weave securing so it doesn’t come up later. Also, you will be sewing the weave mostly to the weaving neat, you can sew into the braid but be sure to not push the needle too far under the braid as styling the weave will cause tension and stress on your natural hair and can result in hair loss and/or damaged hair.
7How To Flip Over Part #6

For the first piece, it would be best to bring it completely up to the bottom of your ear, instead of going from one side of the nape of your neck to the next and work back and forth like that flipping the hair over to prevent the hair from shedding after cutting.
8How To Flip Over Part #7
Keep working until you get to the bottom of the crown of your head, once you’re done you should have “C” shaped remaining to be covered, you will then want to work left to right or right to left depending on your preference. Be sure to keep going until you have a rectangle shape at the very top of your head. Once you have a rectangle shape in the front of your head you can begin to work your flip over method technique. Measure the rectangle from the top of your net until it meets the rest of the weave already installed.
9How To Flip Over Part #8
You may opt to cut those pieces and sew piece by piece or you may work a continuous piece of weaving hair. If you opt in doing the continuous method be sure to sew the folded part of weave down tightly so it will lay as flat as possible, and if you chose to cut the weft of the hair to fit the pieces, be careful how you cut the weave. Try to separate the follicles where you need to cut to eliminate as much as the shedding possible.
10How To Flip Over Part #9

After you have your pieces you can start sewing them being sure to properly secure the front of the weft where you’re initially starting, but do not sew to tightly as this is the top of your head and you don’t want to much tension on your edges. Keep sewing until you reach the other side of your rectangle.
11How To Flip Over Part #10

Take the extra braid that was left for leave out and style your hair to blend with your weave and you are done. You can also flip the first piece of the rectangle hair so that the wefts at the beginning of each rectangle is touching, this can also aid in the flip over method by giving a slip gape for the hair to fall.
As you as styling your natural hair be sure to moisture this hair, as it was not moisturized with the rest of the hair and since your going to styling this section and possibly having to do touch-ups later down the line, you want the hair to be in proper order to hold up to the manipulation it may undergo.
12Flip Over Method v. U-Part Sew in #1
After covering how to do the flip over method, we can now compare the flip over method to the u part sew in. Both methods give you great versatility with making your weave look more natural. However, with the u part sew in it is less work and tension on your hair, if chose to sew your edges down that would be the only sewing involved. The benefits vary for both methods but either one will always yield great results depending if you follow the steps correctly. Both styles allow the wearer to get longer and more stylish use, but the flip over method also serves a better purpose.
13Flip Over Method v. U-Part Sew in #2

Those who live in hotter climates or just may want to switch it and pull their hair up in a ponytail may do so and it will look flawless still. That will be impossible to achieve with an up part sew in without having to go in and sew more pieces down, this is due to the fact for a u-part sew in your only sewing the perimeter of your hair and when you try to pull it in a ponytail, it will create a bubble effect in the middle of the unit.
During take down, the u-part sew in will be faster, and result possibly in more growth, but you may have additional damage to edges if you weren’t taking proper care during the time of installation.
Whichever method you chose be sure to take your time and if your ever in doubt always seek help from a professional stylist.


