Everything You Need to Know to Create a Glamorous Vixen Sew In
If you are a fan of hair fashion you can’t have failed to be aware of the trend taking everywhere by storm that is the Vixen Sew-In. Instagram and Pinterest are full of thousands of inspirational ideas for creative ways to use this weave but it’s important to understand how it might impact on the overall health of your hair before trying out any new techniques.
Carrying out research is nowhere near as exciting as looking at the intricate designs which can be carried out so this quick guide will tell you everything you need to know about the Vixen Sew-In, the pros and cons, and also how to do it for yourself.
1What Is a Vixen Sew In Weave?
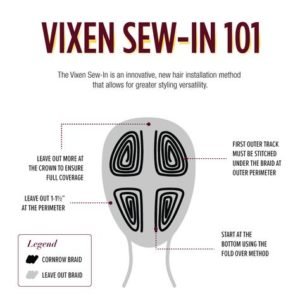
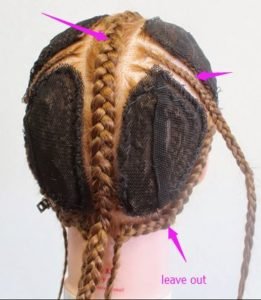
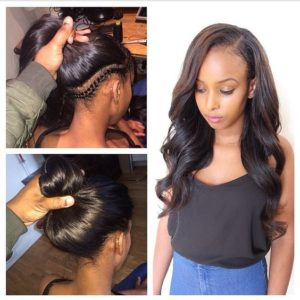
A vixen sew-in is growing immensely in popularity and is basically a new method of weave installation. It involves separating the hair into four sections to apply the weave tracks, rather than using a traditional single method.
This method means your own natural hair is left out around the edge of the scalp, and also in two sections, down and across the middle of your head, and then used to blend in the weave, which is what creates the versatility.
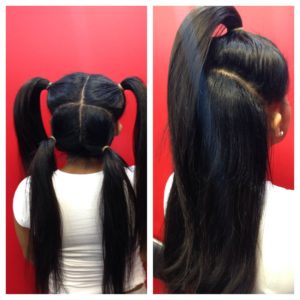
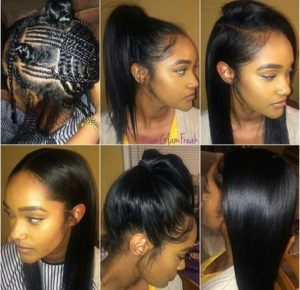
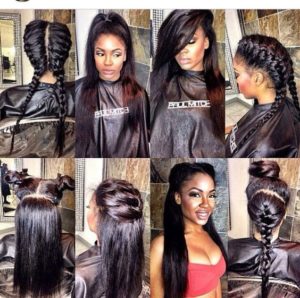
The benefits of the Vixen Sew-In are that you can then wear your hair in many different versatile styles without showing a single track of the hair extensions. You can put your hair in a ponytail, or part it in many different ways and even wear it in a crown braid.
The versatility comes from the natural hair that you leave out, which can then be used to blend all of the styles and hide the tracks from view. Sounds complicated? It’s not as tricky as it seems so here is a quick tutorial on how to do it.
2Step-By-Step Guide To A Vixen Sew-In
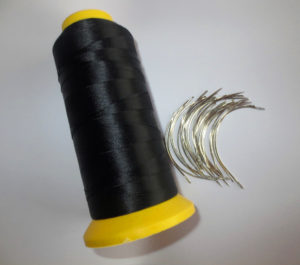
3Items You Will Need to Hand:
4Vixen Sew In Step 1- Separate The Hair
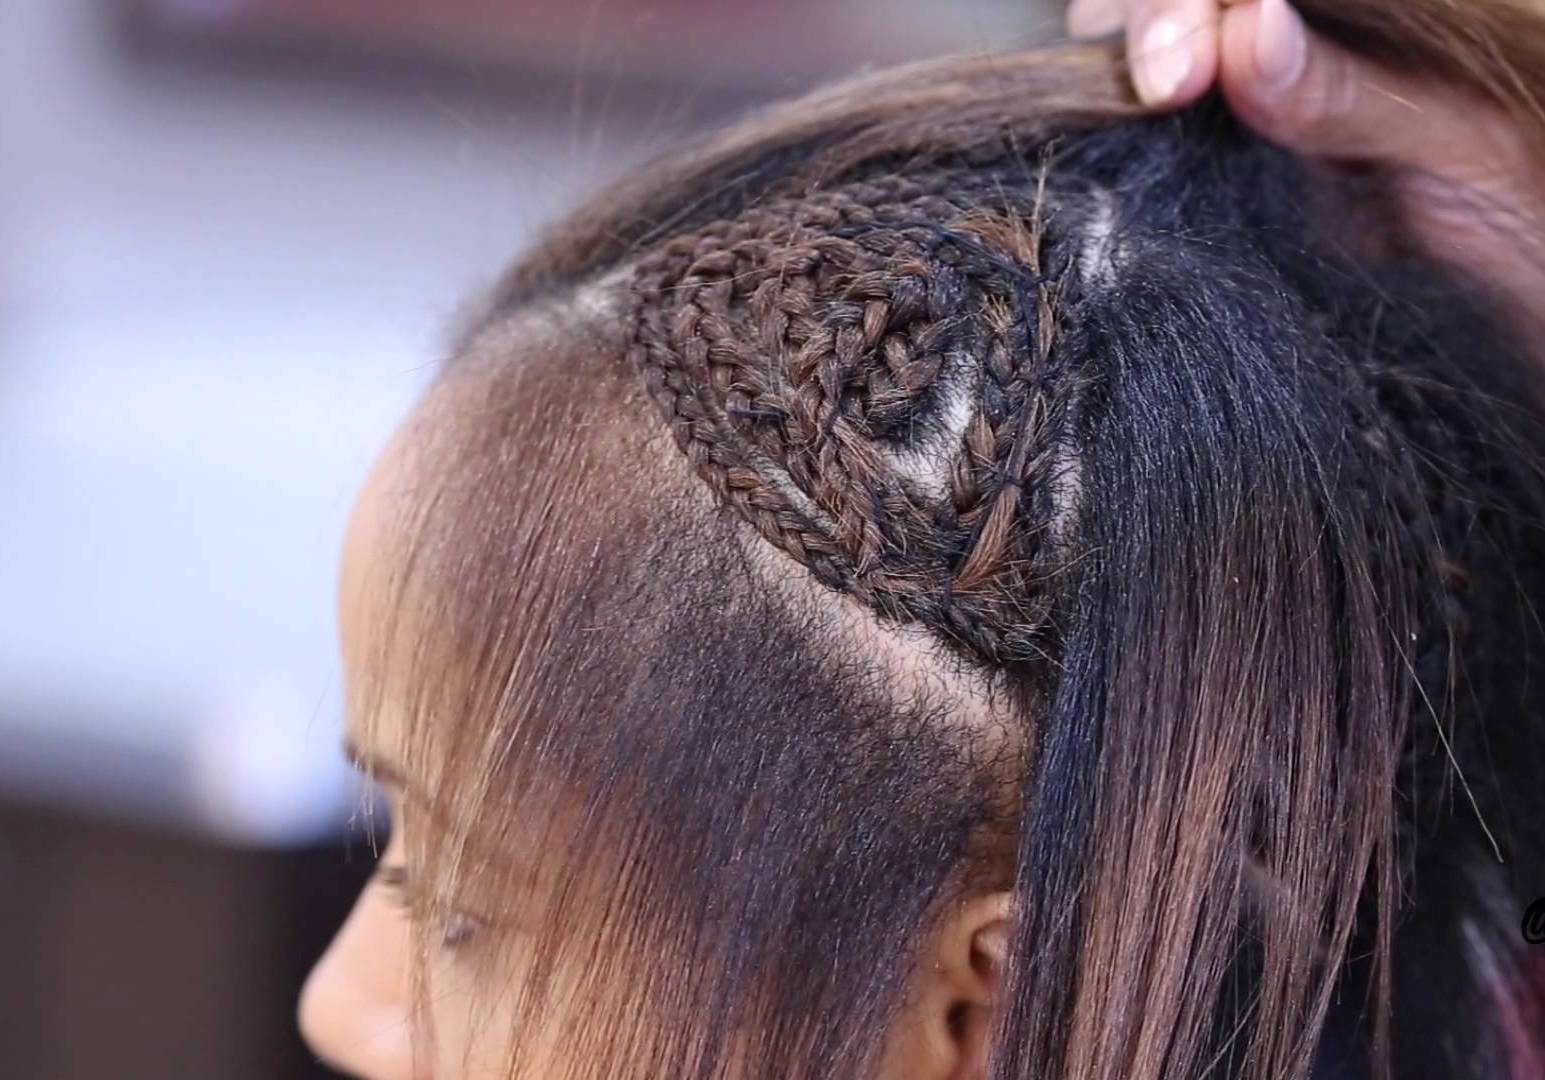
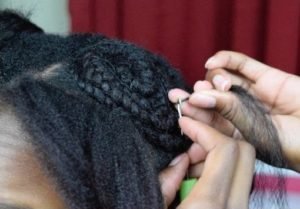
5Vixen Sew In Step 2 – The Braiding
6Vixen Sew In Step 3 – The Sewing
You now need to start sewing the weave in. Start from behind the ear, go down and sew from left to right. Once you reach the top, sew the very last track across so that you get a flatter look.
You need to make sure that you sew around every section and make sure you don’t stitch on top of the leave-out. Once you have completed the sewing, cut off all of the additional net that is not needed. Cut round the sections so you end up with four sections which are all covered with the net.
7Vixen Sew In Step 4 – The Leave Out Braids
Now that the sew-in has been completed, the next step is to take the braids out of the leave out sections around the perimeter, and in the middle cross sections. Once you have undone all of the braids on all of these sections of your hair you need to blend it in with the weave. The best way to do this is to make sure to apply heat protector on these leave out areas. Then use the flat iron on all of the sections to make sure all the hair blends, and it doesn’t end up looking really bulky.
8Vixen Sew In Step 5 – Get Styling
You are now ready to start styling and take advantage of the real flexibility which the Vixen Sew in gives you. You can tie your hair up high, plait it, braid it or leave it long and straight, the choice is unlimited. Why not search online for inspiration and then try out whichever style takes your fancy?
It’s great for trying out really elaborate styles for a special occasion, perhaps when attending a wedding, or a big party, or going out for a romantic dinner with someone special. This method really allows you to style your hair however you like, without revealing any tracks. The only limit to what you can do is your creative imagination.
9Things to Know and Consider Before You Sew
So now you know how easy it is to create a Vixen Sew-In, and the versatility of styles it can help you to create, is there anything else to consider before jumping in and getting this done for yourself? The answer is yes.
There are a number of things to think about before you start the sew and a few pitfalls which you must try to avoid to keep your own hair healthy and undamaged when starting to use this kind of install:
This kind of installation is not the best if you want a straight weave, or a texture that is very different to your own natural hair. As you are leaving out hair to then blend with the weave, you really need a weave that best matches your own hair to avoid damage. It looks amazing the closer to your own hair you can get.
It works best and looks better when blended if your hair is a maximum of six inches shorter than the weave. You really need your hair to be ponytail length for this to be effective at all. If your hair is too much shorter than the weave it will give the appearance of chopped layers and not look natural and blended so it’s better to try to match the lengths.
Be aware that with the leave out hair in the middle and around the perimeter your real hair is prone to more damage due to the flat iron use and styling stress. It is not protected like it would be in the traditional style weave.
Beware that the braid pattern can be quite tight and if you combine this with extension tracks which are too heavy, you can end up with traction alopecia. This can be resolved by making sure you or your hair consultant don’t do the braids too tightly, leave enough movement in them not to cause permanent damage.
The hair which is tucked away in the braids will be getting a break, while the leave-out sections will be subject to lots of styling so the health of your hair could become quite uneven over time. You can avoid this by only using it every now and then, for a special occasion.
People generally choose to have a weave to give their natural hair a break but the Vixen Sew-In doesn’t really achieve this aim because of all the leave-out hair which is still exposed and not at all protected, so be aware of this.
One of the issues many people don’t like about this method is that it requires you to cut your wefts. If you have paid a lot of money for the hair, then you may be reluctant to do this because it can cause the weft to shed.
When considering the Vixen Sew-In there are many things to take into account but the cons can be counteracted by making sure your braids are not too tight, and being careful with your own leave-out hair, taking care not to over style or overheat it and always using heat protection before using the flat irons.
10Vixen Sew In – What Are My Options?
There are other methods which only use three hair sections or two, which can create different hairstyles using the Vixen Sew-In but the quadrant pattern is the most popular version.
Look into all the options and it’s generally best to at least consult with your hairdresser before going down this route and really, actually carrying out the weave and sew-in should be done by a professional.
It is possible to do it yourself by following the steps highlighted here, or by searching for videos on the internet to watch how other people have done it themselves for inspiration, however, it is quite tricky.
It’s a style option that should really only be carried out in moderation, to avoid damage to your natural hair and perhaps is best served for a special occasion and then taken out again as it certainly provides wonderful versatility and styling options that you couldn’t do with a traditional weave. Just make sure it’s not at the expense of your natural hair.
For Sew In hair styles inspiration click here.

