
Natural Hair Bun
You are officially out of the TWA phase and can manage all or most of your hair in a ponytail. You have also been eyeing some bomb up-do hairstyles, you have been dying to try. But before you grab your brush and gel and slick your mane up. There are some precautions and proper techniques you need to not only be aware of but be able to perform as well to ensure your hair and edges remain in tack and healthy. You will also be able to get the most out of your style as well.
1How To Achieve The Perfect Bun
Before, diving in we will cover some basic techniques and equipment that should be utilized. Enforcing these skills can help get the most out of your mane, and using the equipment recommended will prevent damage. First and foremost, you should NEVER wear your hair in a bun for more than a week at a time, failing to remember this
2Equipment & Techniques Part #1
- Silk, Satin bonnet, scarf or pillowcase – as naturals we should already have these handy. These are designed to protect your hair from friction, maintain moisture and add longevity to your style.
- Invest in a holding gel without any alcohol, alcohol is drying to your hair, especially when
your rocking a style that may call for it, depending on your hair type. Despite the label saying it’s non-drying or flaky, be sure to check the ingredients, no matter if your natural or not! - Use metal-free hair scrunchies and avoid rubber bands. You don’t have to break the bank to use hair friendly tools. There are thousands of options out on the market and even videos floating around online about some great
diy hair tie options. You don’t want your hair tie to pull or yank any hair out, of course this will cause breakage that we don’t need nor, do we want.
3Equipment & Techniques Part #2
- Be sure your using a firm, natural bristle brush. You can even find a video online on tips on how to utilize a fine tooth comb to smooth the surface of your hair leading to your bun down. Also, if your using a toothbrush to lay your edges be sure it hasn’t been used for anything prior and that’s its firm but still slightly soft.
- Avoid using bobby and hair pins as much as possible. We know that there are some styles that call for them, and you may feel the need to want to use them for added security, just be sure their placed correctly. Not keeping this in mind and placing them in wrong, you will run the chances of stabbing or placings them too close to the scalp. This will cause your hair to become sore and your scalp will be traumatized. If by any chance you do happen to place them incorrectly and they start hurting, remove them immediately and take your hair down, treat your hair and let it rest to heal correctly and at its own pace.
4Equipment & Techniques Part #3
- If you are trying to achieve one of those slick down ponytail looks, be sure to avoid placing your hair in a bun while its wet. We know from personal experience how tempting it is, because your hair is more manageable when its wet, but bunning your hair while its wet can cause mildew and once it dries completely it will be frizzy.
- To set your edges and hair, wrap your silk/satin scarf around firmly and leave on for 10 -15 minutes. Avoid using that bandana you have tucked away in the back of your hair drawer. As we all know cotton will suck all the moisture out of your hair.
5How to perform & Style Natural Hair Bun
Let’s get into this
6Styling a Natural Hair Bun Using Extensions Part #1
If you wish to stretch your hair prior to bunning you may use either method to stretch your hair. Just be sure you’re taking the proper precautions to treat your hair to eliminate as much heat damage if you choose to blow dry your hair. Once your hair is completely dry you may choose your preferred bunning style. For this, we will do a up high curly hair bun. Apply your alcohol free gel to the perimeter of your hair, using your bristle brush, gently brush your hair up into a bun. Being sure to not brush to roughly, and you don’t have to brush through to your roots and scalp, just focus on brushing the surface of your hair flat and smooth. Once your hair is up to the height you desire, you may secure your hair using a hair tie. Secure your hair firmly, being sure it’s not too tight and nothing is pulling.
7Styling a Natural Hair Bun Using Extensions Part #2

If however your hair is really short or not all of your hair manages to get into the hair tie, you will focus on placing the crown of your head in a hair tie and placing hair gel around the perimeter you may brush the rest of your hair towards the ponytail. Place your scarf around to set everything and keep it in place. If you wish for added length there are many options available, we are going to use a curly hair ponytail piece from our local beauty supply store to give us a fuller bun.
8Styling a Natural Hair Bun Using Extensions Part #3
Follow the directions for securing it to your natural hair, this is something we would recommend the use of hair pins to help secure them, you will also want to be careful with the combs that come with the piece as they can cause damage if placed incorrectly as well. We like to use both the open and close ones. Using the closed pins to help the ponytail piece stay securely in place. Now if you want a more fluffy or fuller approach, tease or brush out the middle of the ponytail out a little to make bigger, then you will wrap everything around into a bun, if its messy that’s fine, just make sure you don’t tease or stretch out any more curls in the process. There are also braid-less crochet methods, glue-less weaving methods, Kanekalon braiding hair methods, and so much more.
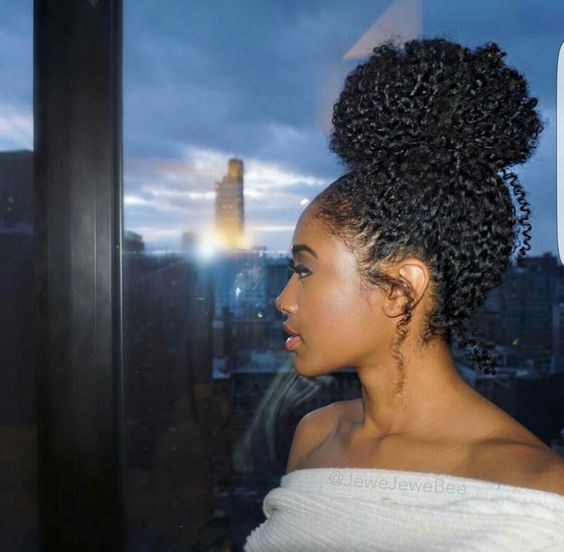
9Styling a Natural Hair Bun Only With Your Natural Hair Part #1

If by any chances your hair is longer, and you wish to use your own natural hair, and place it in a bun, without having to stretch your hair, you may do so as well. This is also known as the pineapple method. After washing your hair, you may let it air dry or use a diffuser to enhance your curls. Once completely dry, you will pull your hair up into a bun, depending on how you wish for the outcome to look like, you will either pull it up extremely loosely where you have a few strands falling down or you may take your bristle brush and gently smooth the hair leading up to your bun down smooth. If you do choose to smooth your hair down be sure to set it completely before placing it in a bun.
10Styling a Natural Hair Bun Only With Your Natural Hair Part #2
For the actual bun it depends on the length and thickness, if your hair is thick you may where it as a puff, and to better your you may use perm rollers on your ends. If not, you can use a hair friendly donut to perform a bun or to use the tuck and wrap method. The tuck and wrap method is taking a medium strand of hair and wrapping around the hair tie. Then you can tuck the remaining hair under the wrapped hair and spread it around to make it look fuller, placing hair pins (the open ones) properly in place to keep everything secure.
11Switching it Up
There are tons of ways to style your natural hair curly bun, from placing your hair into braids or twist that lead up to it. Parting your hair specific ways, to the placing of your bun, whether it be up high or down low at the nape of your neck. Accessorizing your hair is just as simple and there are endless ways to spice up your bun style.
You can also add beads and bows, or dye your hair. A natural hair friendly hair dye
12Curly natural bun with side bangs and beads
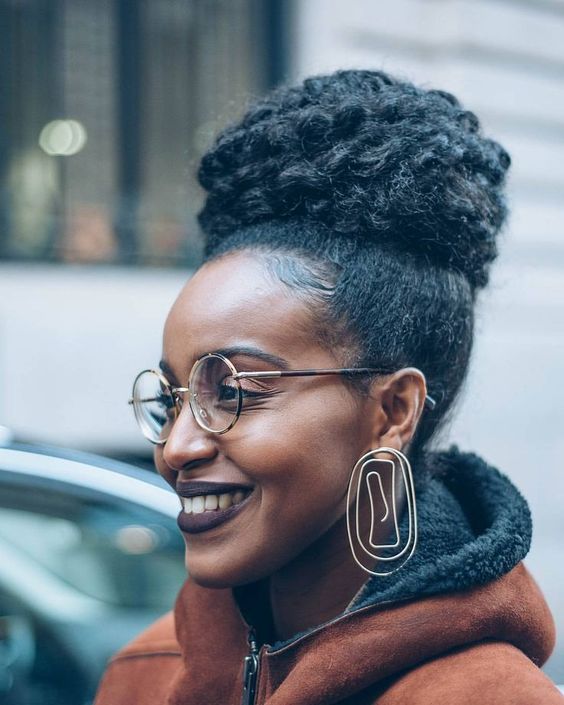
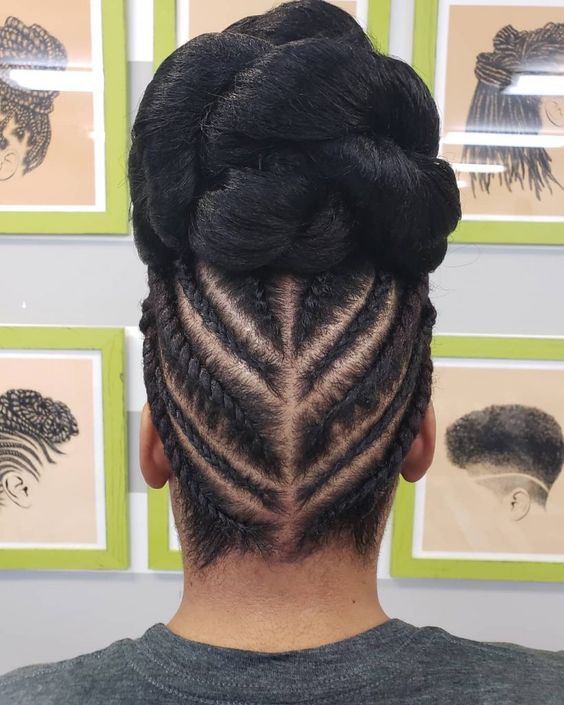
13High puff braided bun

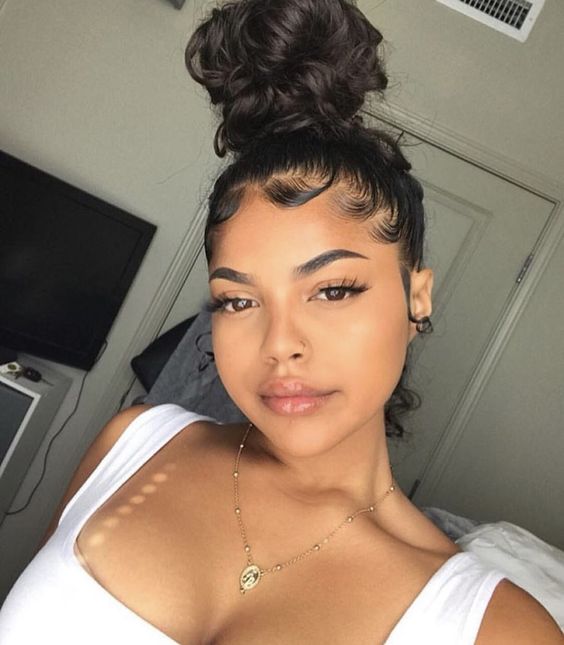
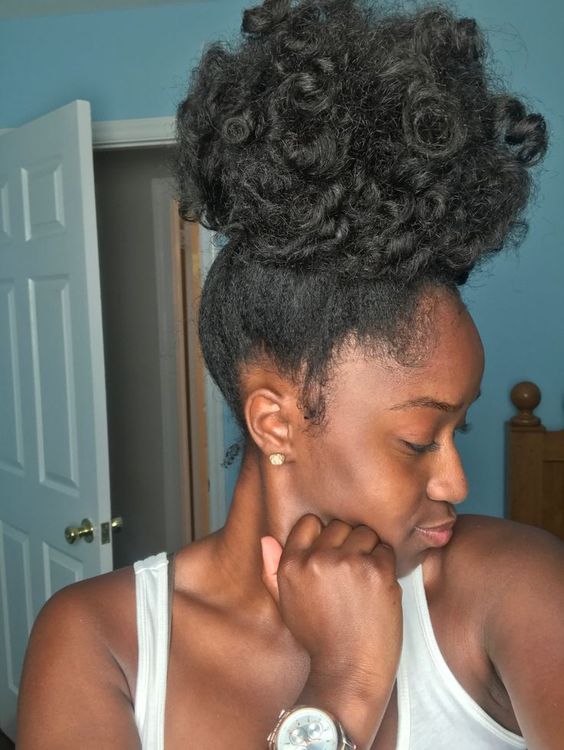
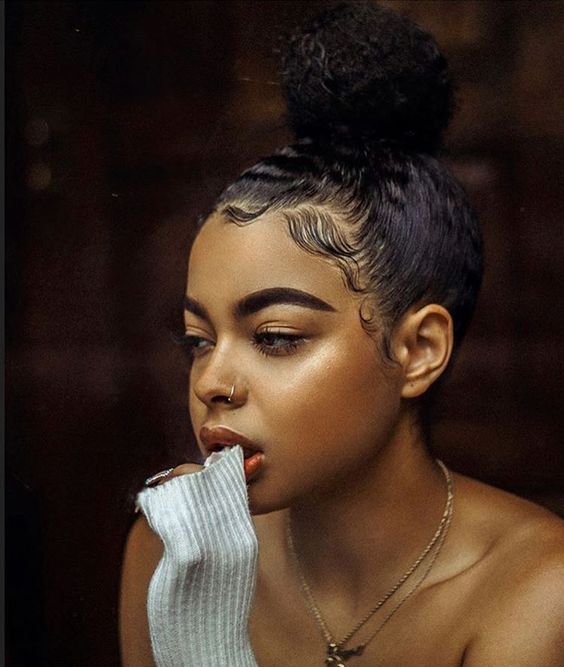
14Messy natural top knot
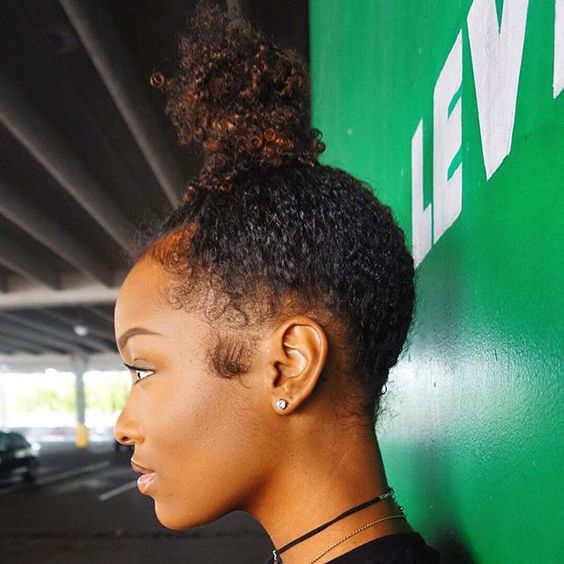
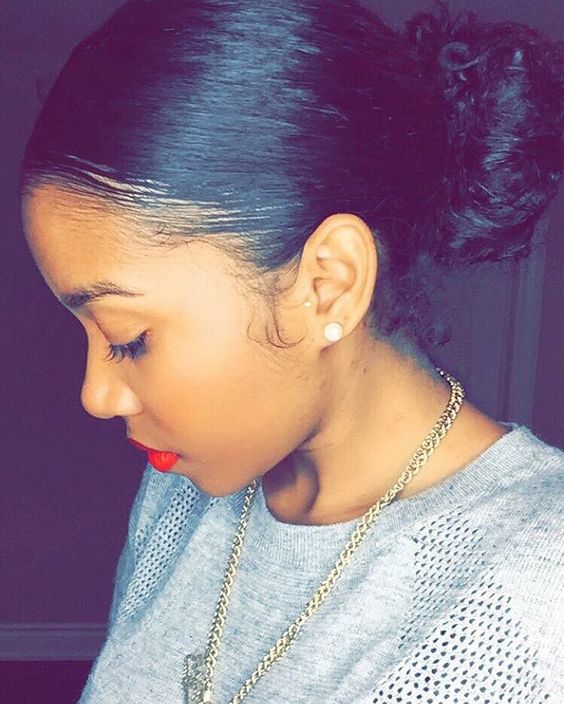
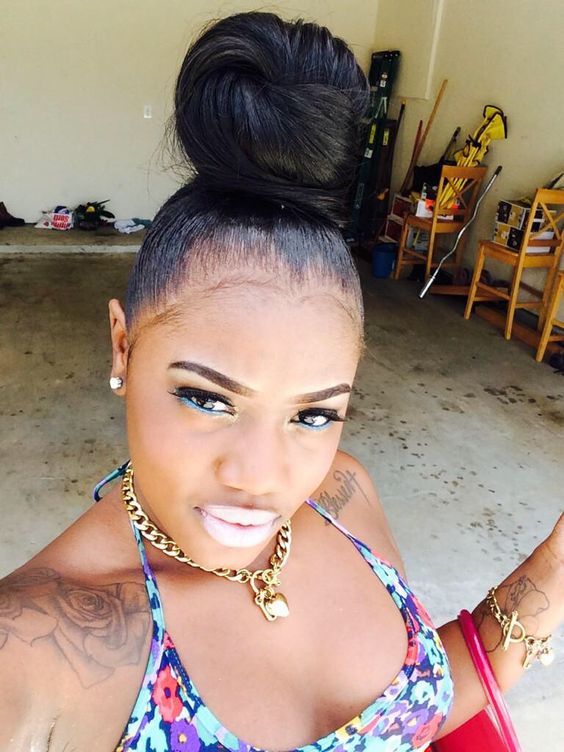
15Super sleek high bun
16Curly natural bun and head scarf

17Chunky braided high puff and cornrows
18Half up natural hair bun

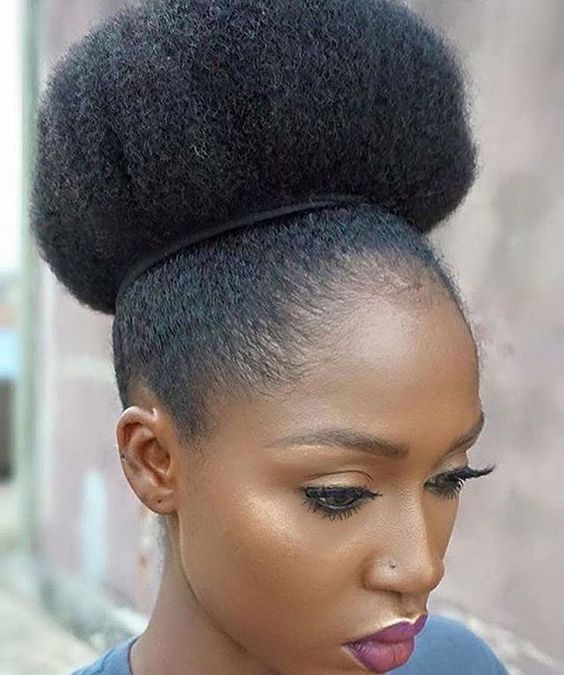
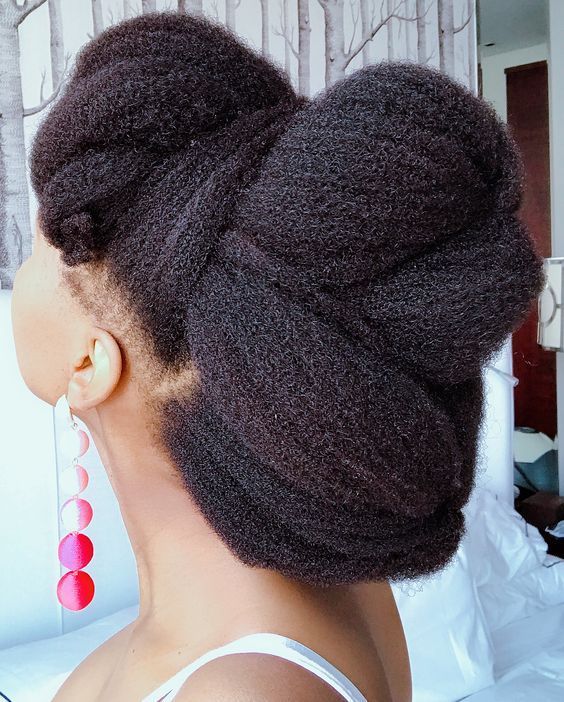
19Super puffy three-dimensional natural bun
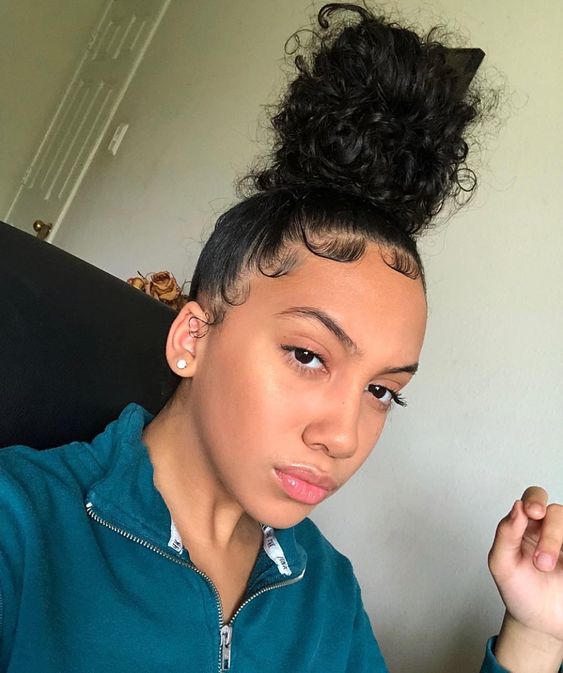
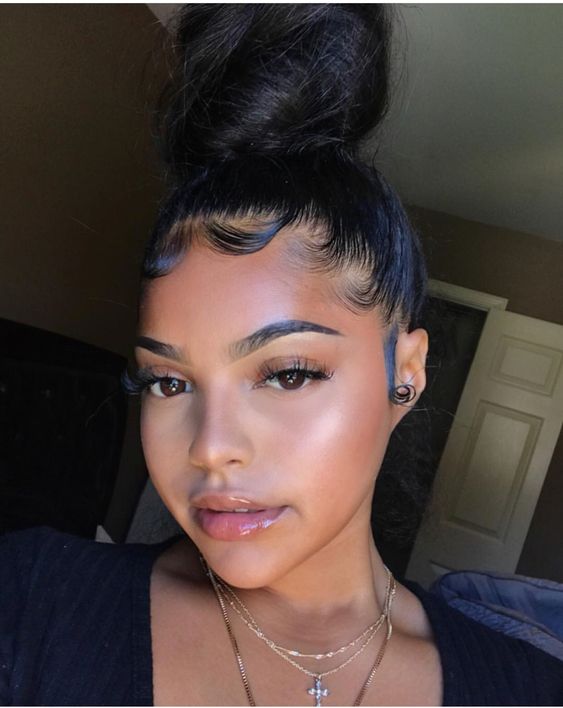
20Natural hair bun and baby hair
21Curly bun and faux curly bangs

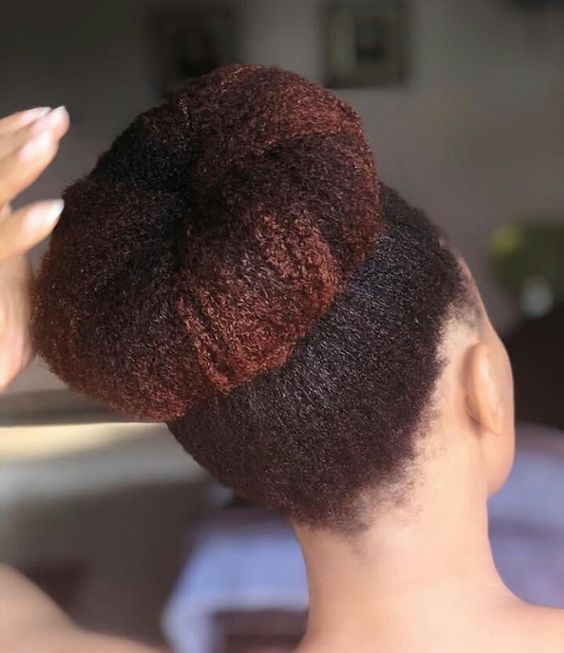
22Red natural hair bun using a donut
23High bun and braided back

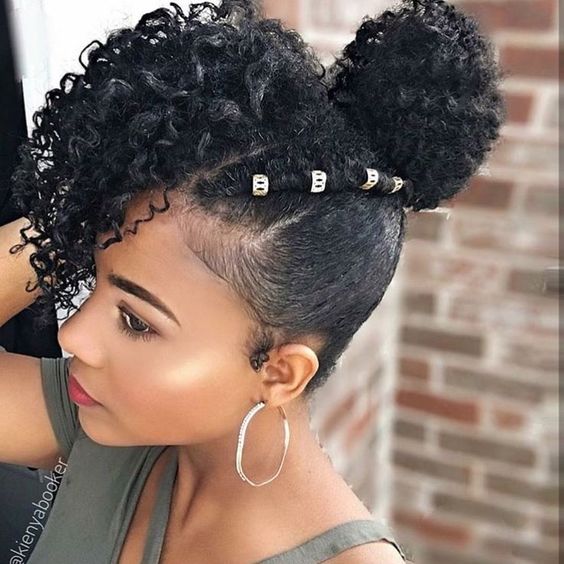
24Natural double hair buns

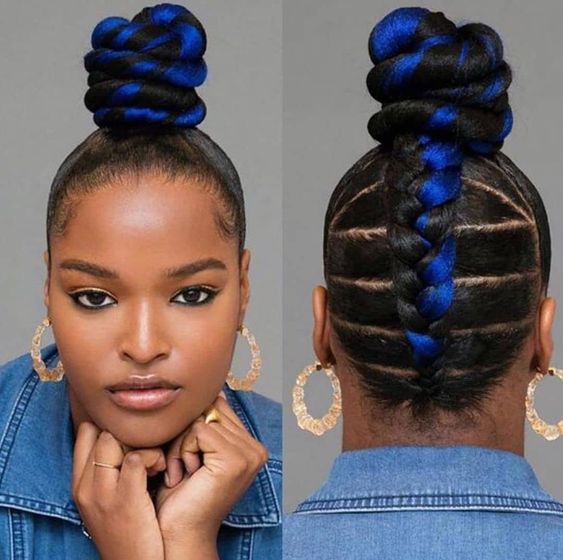
25Twisted braided bun with blue extensions
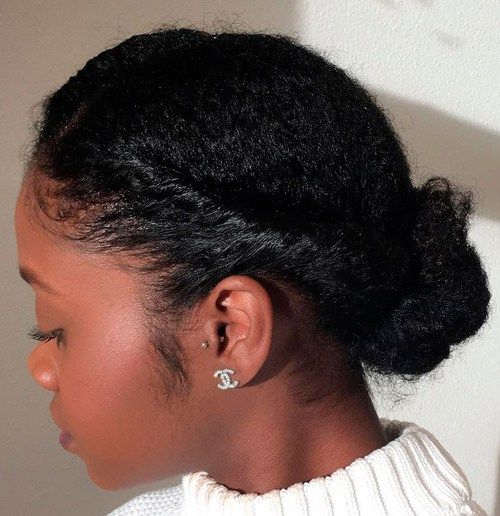
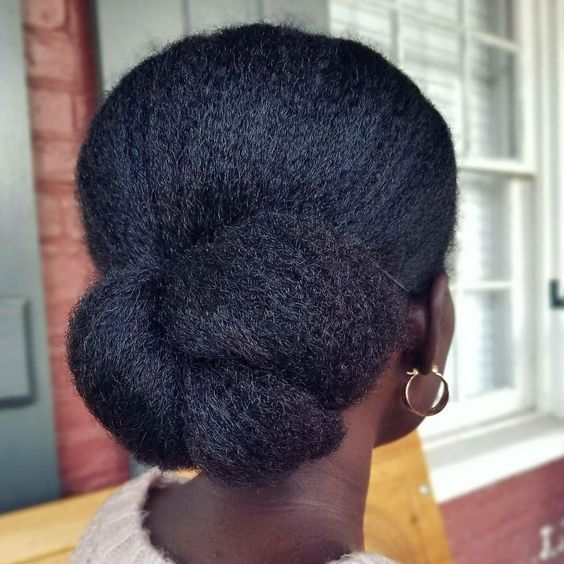
26Natural hair chignon bun
27Twisted mohawk high natural bun


